My students and any Devon junior can have a free copy of these opening booklets:
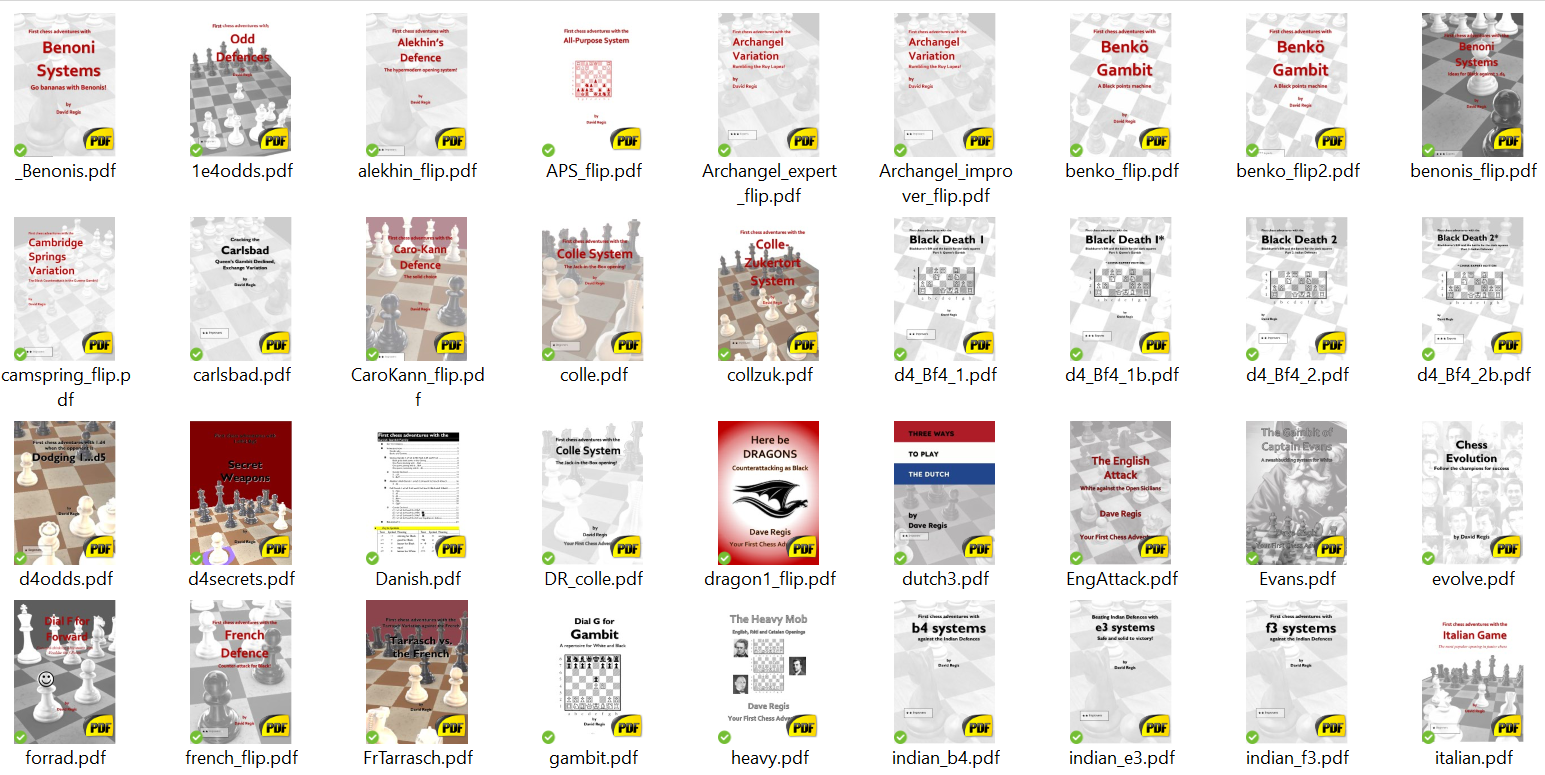
My students and any Devon junior can have a free copy of these opening booklets:
How pawns make life easy (and hard) for pieces.
The best B Q K N R P ever!
Also, the best pieces and the worst pawns…
Thanks to all those who attended, shared games, contributed comments and heckled; I hope you got something out of taking part.
LINK to Lichess study for Saturday game analysis: https://lichess.org/study/6WyVNXpv/
LINK to Lichess study for Sunday game analysis: https://lichess.org/study/QIirDybT
Not all the talks actually happened but here are the intended slides; the slides were designed to support a talk and not to stand alone.
In an all-parent encounter last week, the players stumbled upon this position, known as the Trebuchet. A trebuchet is a big wooden catapult, and its connection with this position is not known, except that it may catapult a player from joy to despair…
Normally, it’s an advantage for it to be your turn so you can get on with your plan, but in this position, whoever has to move next, loses! Can you see how?
The situation of an unhappy forced move is called Zugzwang; it’s not ever so common but more unusual is this situation where BOTH sides are in Zugzwang.
P.S. Interested in this sort of thing? Here are some more:
http://exeterchessclub.org.uk/content/simplest-mutual-full-point-zugzwangs
The artillery of the chessboard, landing blows from afar.
What’s a windmill? Glad you asked…
Three quite shocking examples from junior chess.
There are three sorts of blunder, it seems to me, and we have seen examples of each:
A. you overlook your opponent’s threat (you are asleep)
B. you overlook your own threat (you are lazy)
C. you overlook your opponent’s reply to your threat (you are over-excited)
Some fairly shocking examples from the club championship of recent years… One of each type, again.
It is hard to know which is most common, and it may be that you
specialise in a particular type. Let us try to find out… The cure for
type B is the tactical awareness discussed with the group by Tim last
week, so see how you get on with these, which feature errors of types A
and C.
(see attached PDF, side 1)
Three treatments may be recommended, each suited to curing you of a particular sort of blunder:
a. suspicious minds — look before you leap!
b. tactical awareness — practise doing puzzles — add speed to accuracy
c. hesitation — check it before you move it — finish your line of thought with the best move for your opponent
…is check for your opponent’s threats.
First, when your opponent moves, look at everything the move does.
Then choose a move.
Lastly, before making your chosen move, check every forcing reply. If
you can, do the same for the position at the end of your analysis.
So, let’s try that again, from the top:
*[Turn over!]
What about when you are in time trouble, or playing in a rapidplay?
There may not be time to do a proper analysis, in which case you will
have to settle for a ‘good enough’ move. If you rehearse good thinking
habits when playing slowly, I hope you develop some intuition for when
you don’t have proper thinking time.
[There are also strategical blunders, overlooking what is going on positionally, which
are equivalent:
Some time after writing the piece about checkmate patterns, I bought V. Vukovic’s
famous book The Art of Attack in Chess. In it he
gives a chapter full of mates, shown below; the numbering and
terminology are his.
UPDATE: PGN file attached ]
All of these mates are worth knowing, although you may
only pull off Reti’s mate once in your life. But the threat to
carry out Reti’s mate may come up every year.
White is to move unless indicated otherwise.


Black to move Solution/Notes


Black to move Solution/Notes
Can Black, to move, save the game? Solution/Notes


Black to move Solution/Notes
A common pattern Solution/Notes
Black to move Solution/Notes


Black to move Solution/Notes
Black to move Solution/Notes


Black to move Solution/Notes
Black to move Solution/Notes
1 Bg6+ Kg8, 2 Qh7+ Kf8, 3 Qf7 mate
1 Bf5+ Kg8, 2 Be6 mate
1 Nf6+ Kh8, 2 Rh7 mate
cannot be forced in this situation
but worth looking out for in a castled King’s-side
position, because the Knights cover so many squares
Oh, how many times have we overlooked this…
1…Kh7, 2 Qh4+ Kg8, 3 Qh6 and 4 Qg7 mate
1 Rh8+ Kxh8, 2 Rh1+ Kg8, 3 Rh8+ Kxh8, 4 Qh1+ Kg8, 5 Qh7
mate
1 Qh5 Be7, 2 Qh7+ Kf8, 3 Qh8 mate
1…f5 2 Qh7 mate
1…Re8 2 Qh8 mate
1…g6! 2 Qh6!
1 Nf7+ Kg8 2 Nh6+ Kh8 3 Qg8+ Rxg8 4 Nf7 mate
1…Rb8, 2 Qxf7+ Kh8, 3 Ne6 Rg8, 4 Qh5 mate
1 Nf6+ Kh8, 2 Nh5+ f6 escapes
1 … Kg2, 2 Ne8++ Kh6, 3 Qf4+ g5, 4 Qf6+ Kh5, 5 Ng7+ and
White needs only a Pawn on g2/h2 to force mate
1…h6 2 Bxf7+ Kh8 3 Qg6! hxg5 4 Qh5 mate
1…Rf8, 2 Rg5+ Kf8, 3 Rg7!
1 Qxf6 gxf6, 2 Rg1+ Kh8 3 Bxf6 mate
1 Rxg7+ Kh8, 2 Rxf7+! Kg8, 3 Rg7+ Kh8, 4 Rg1+ Rf6, 5 Bxf6
mate
1 Rd8+ Kf7, 2 Rf8 mate
1 Ne7+ Kh8, 2 Rxh7+
1 Qg5 Kh8, 2 Qh6 Rg8, 3 Qxh7+
1…Rfd8, and White has only perpetual
the Rooks ‘grunt out check’ but cannot get sight of mate
(Janowski)
1 g6 Bg8, 2 g7 mate
1 Nxf7+ or 1 Ng6+ mates
1 Be6 d4, 2 Bh2 and 3 Be5 mate
Macdonnell-Boden 1869
1…Qxc3+ 2 bxc3 Ba3 mate
1 Rxg7+ Kh8, 2 Rg8+ Kxg8, 3 Rg1 mate
(compare Morphy’s mate)
1 e4 e5, 2 Nf3 d6, 3 Bc4 Bg4, 4 Nc3 g6
5 Nxe5! Bxd1? 6 Bxf7+ Ke7, 7 Nd5 mate
10…Bc5+ 11 Kh1 Ng3+ 12 hxg3 Qg5, 13 Rf5 h5! since 14
Rxd8 hxg4 mate
9 Qd8+ Kxd8, 10 Bg5++ Kc7, 11 Bd8 mate
1 Qh1 h5, 2 Qxh5! gxh5, 3 Bh7 mate